
‘Chestnut Families’
Create your own wonderful family portrait in autumn colours
Head outside on a family walk, look out for a chestnut tree, seize the opportunity to slow down and enjoy the world around you. Imagine. Invent. Create. Let nature spoil you this autumn. The perfect time of year for some back-to-basics activities. Make the most of your next walk in the woods and take away not only some treasured memories, but also a great family portrait. Your chestnut family!
Any walk in a beautiful deciduous forest is also a great opportunity to create your own treasure hunt. So why not have fun finding (without necessarily picking up everything you find!) some red leaves, an acorn, a pine cone, some mushrooms, or even a snail?
Chestnuts can usually be found in our splendid deciduous forests between September and November, depending on the year, region and local varieties. Obviously, if you don’t have any chestnut trees nearby, you can always visit your local markets, garden centres or shops. Chestnuts are often sold by the kilo, but can be added to lots of tasty autumn recipes, alongside seasonal vegetables, like pumpkins!
Materials

- Chestnuts
- Glue
- A sheet of paper or cardboard
- Pencils
Method
It all begins with a stroll through a deciduous forest. And the hunt for some chestnuts! Or conkers, they work fine too. To tell the difference, chestnuts are the small, heart-shaped fruits of sweet chestnut trees, while conkers are the larger and more rounded fruits of horse chestnut trees. However, if you do use conkers, make sure you don’t eat any of the leftovers, only chestnuts are edible, not conkers.
Picking up chestnuts you come across naturally in public forests is usually fine, but it’s often best to check in advance. In any case, only take a reasonable amount from nature. Just enough for the activity - plus a few extra for tasting!
Once back at home, make sure to get toasty and ready to have some fun!
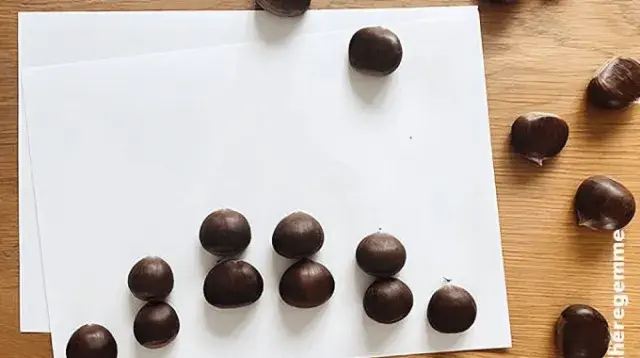
Start by putting together your wonderful family portrait in chestnut form. Two big chestnuts per adult, two smaller ones per child, and perhaps think about finding some even smaller ones for your pets...
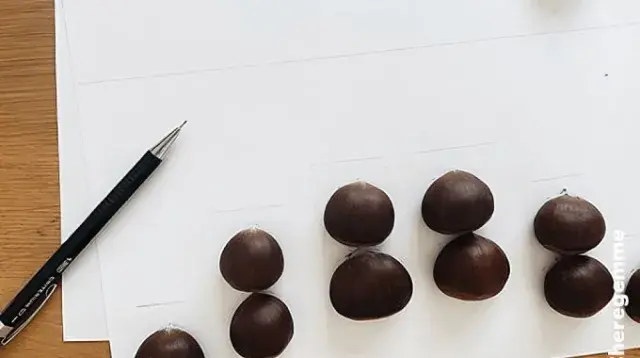
Before gluing and personalising your family portraits, don’t forget to use your pencils.
Sketch a few helpful outlines to map out roughly where you want to place your chestnuts.
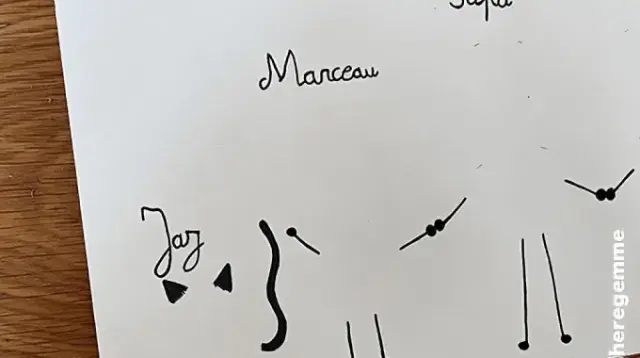
Also, remember to add a few light markings where you want to add your title, everyone’s names, perhaps a date... and remember to have fun with as many extra details as you like (arms, legs, the cat’s ears...).
A few pencil sketches, a few rubbed out mistakes, and now we’re ready to glue.
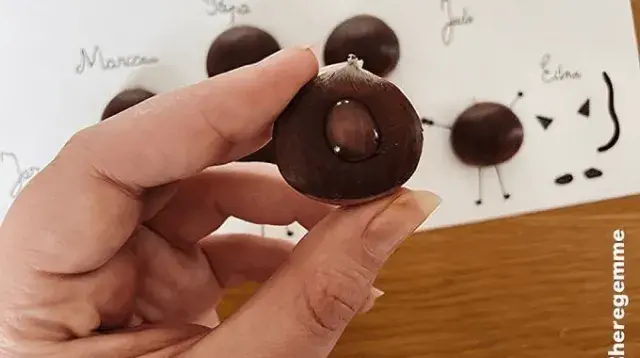
Glue gel is perfect for sticking chestnuts to card.
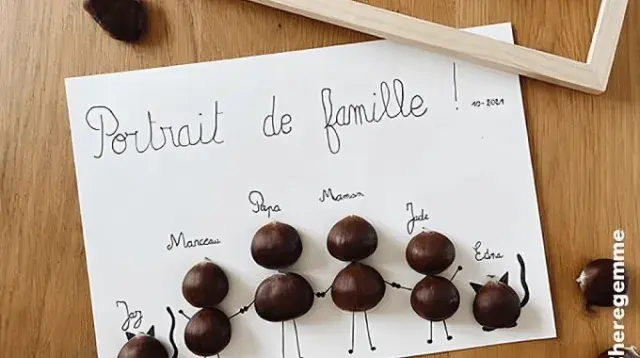
And there you have it – a wonderful family portrait!
Have fun!
DIY article created and written by ©Cheregemme / Photos by ©Cheregemme